First Terraform Deployment (beta)
In this activity you will:
- Create AWS environment variables
- Create an SSH key-pair
- Create the Terraform variables
- Initialize the AWS Terraform provider
- Deploy the lab infrastucture plan
- Confirm firewall bootstrap completion
Create terraform Environment
For this lab we will use Palo Alto Networks public terraform templates. https://github.com/PaloAltoNetworks/terraform-templates
Note
We already provided the sample files used in this lab. This repository (or repo) contains the files needed to deploy the network and compute infrastructure.
On your machine the files are in the ~/utd-automation/pan-terraform/ folder. We will switch to this environnement later on.
Create AWS environment variables
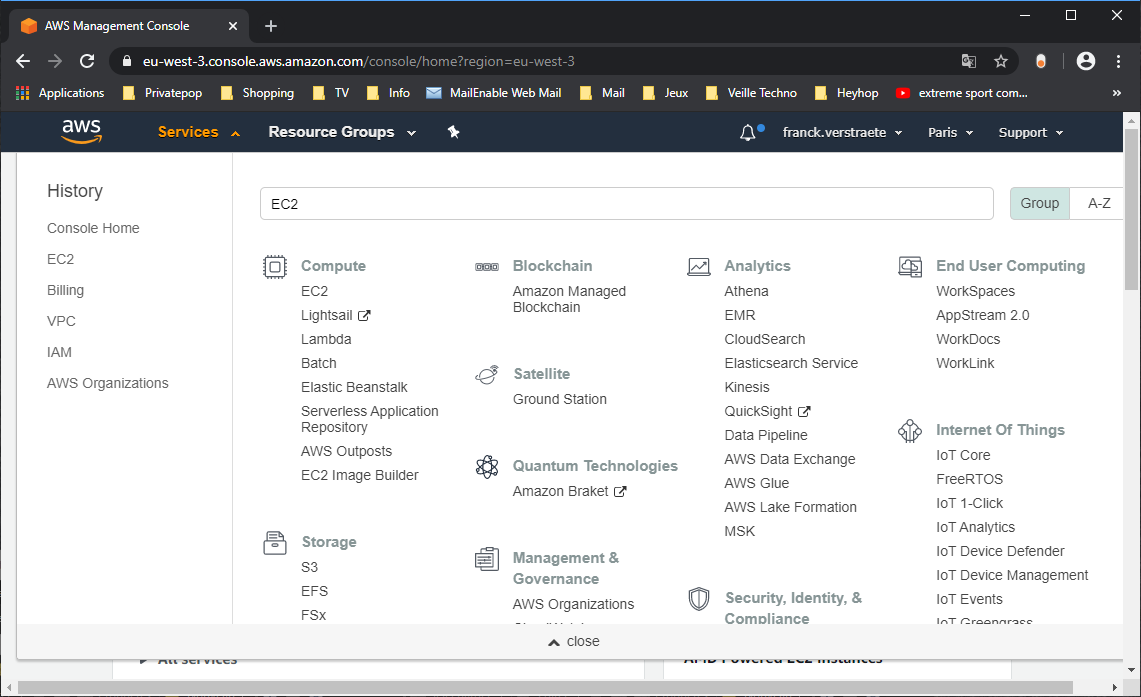
Use your utd-console credentials to log in on the AWS Console. See documentation here.
Select the N.Virginia region (us-east-1) at the top right corner of the screen.
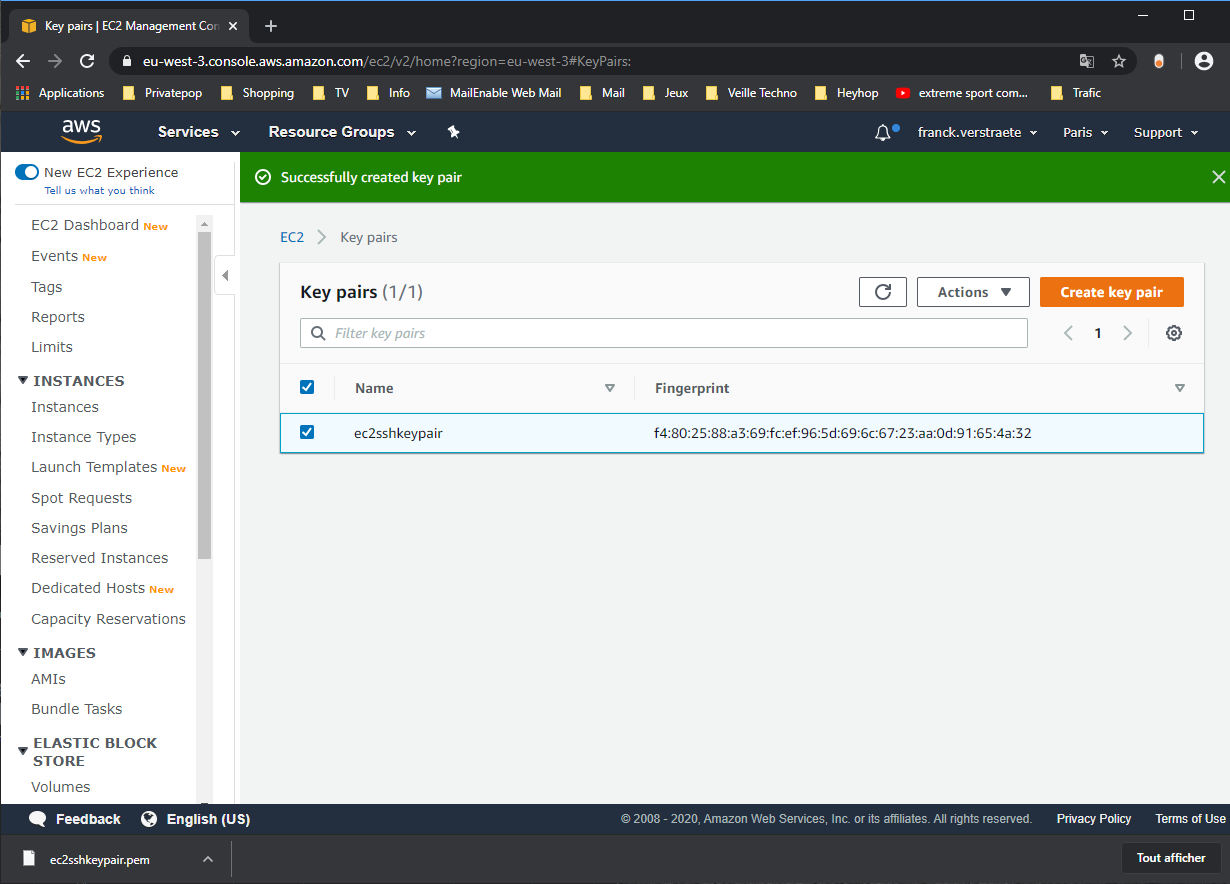
Create an SSH key-pair
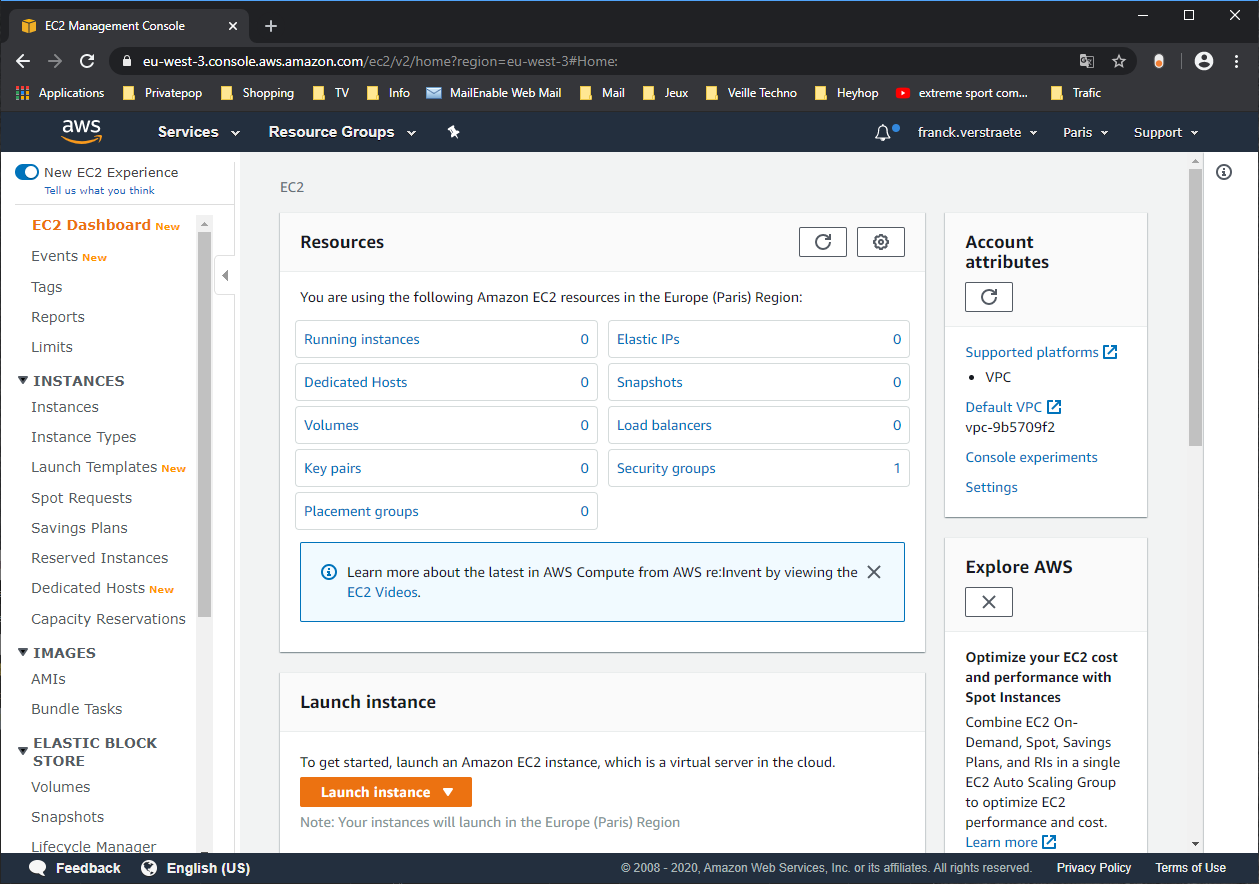
All AWS EC2 instances are required to have an SSH key-pair defined when the instance is created. This is done to ensure secure access to the instance will be available once it is created.
click on EC2:
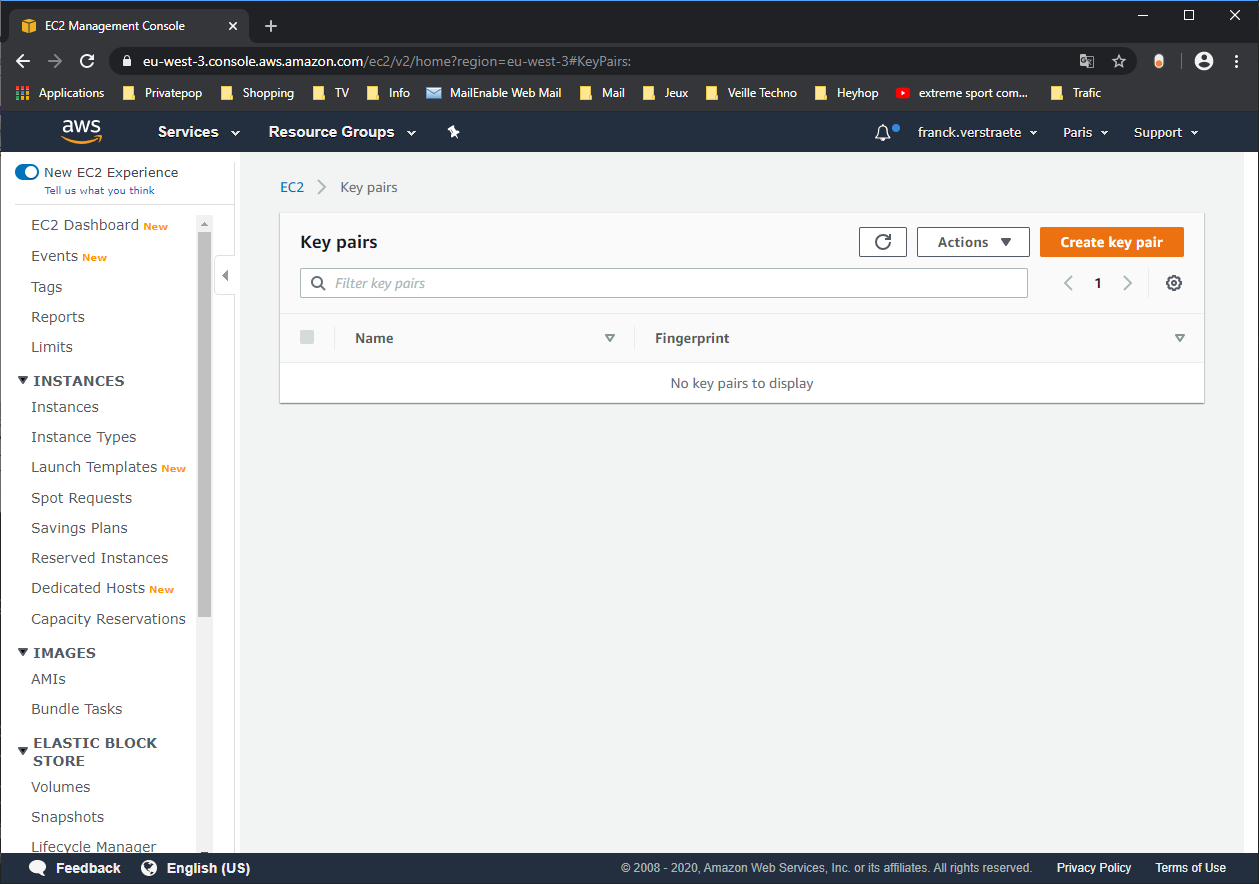
Click Key Pairs
Click Create key pair button:
Give it a name: ec2sshkeypair
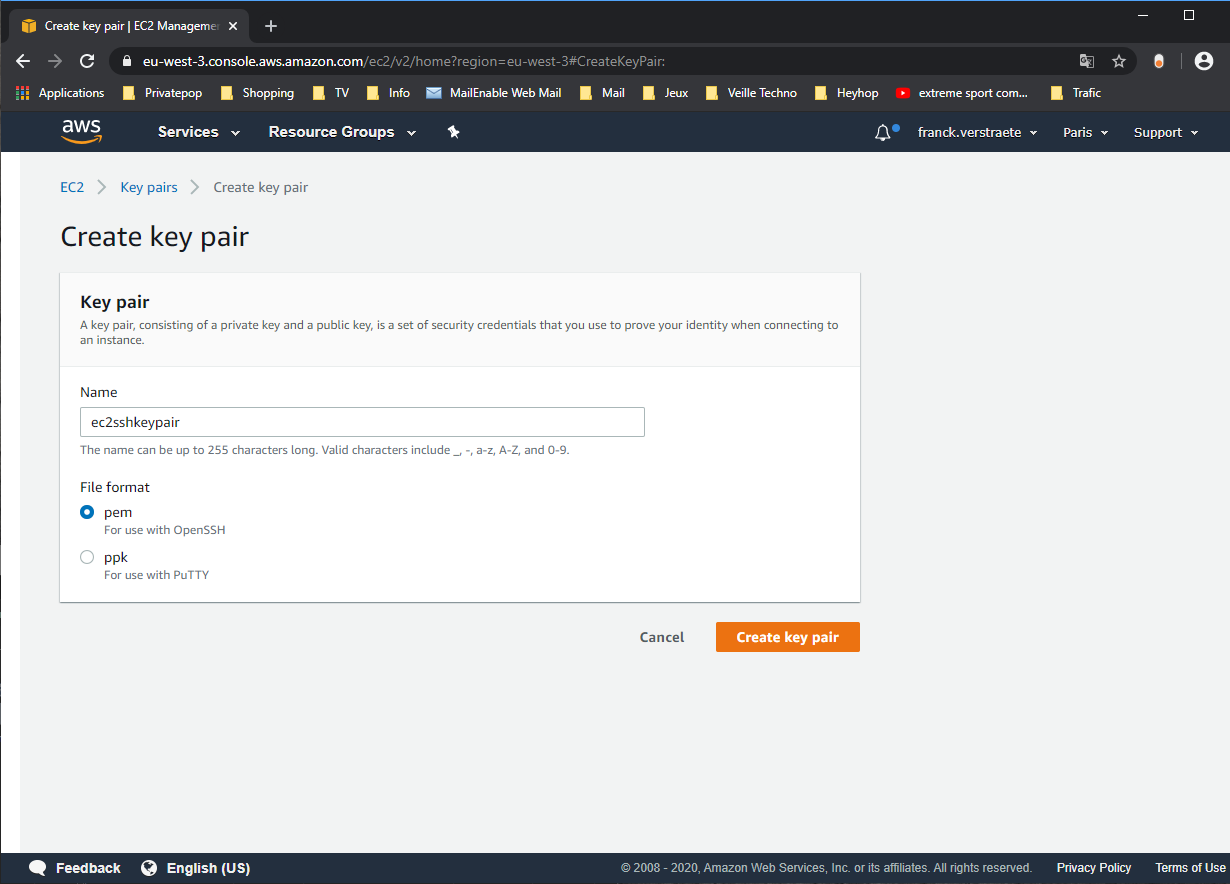
And click Create.
Move the key to the following folder:
mv ~/Downloads/ec2sshkeypair.pem ~/utd-automation/pan-terraform/
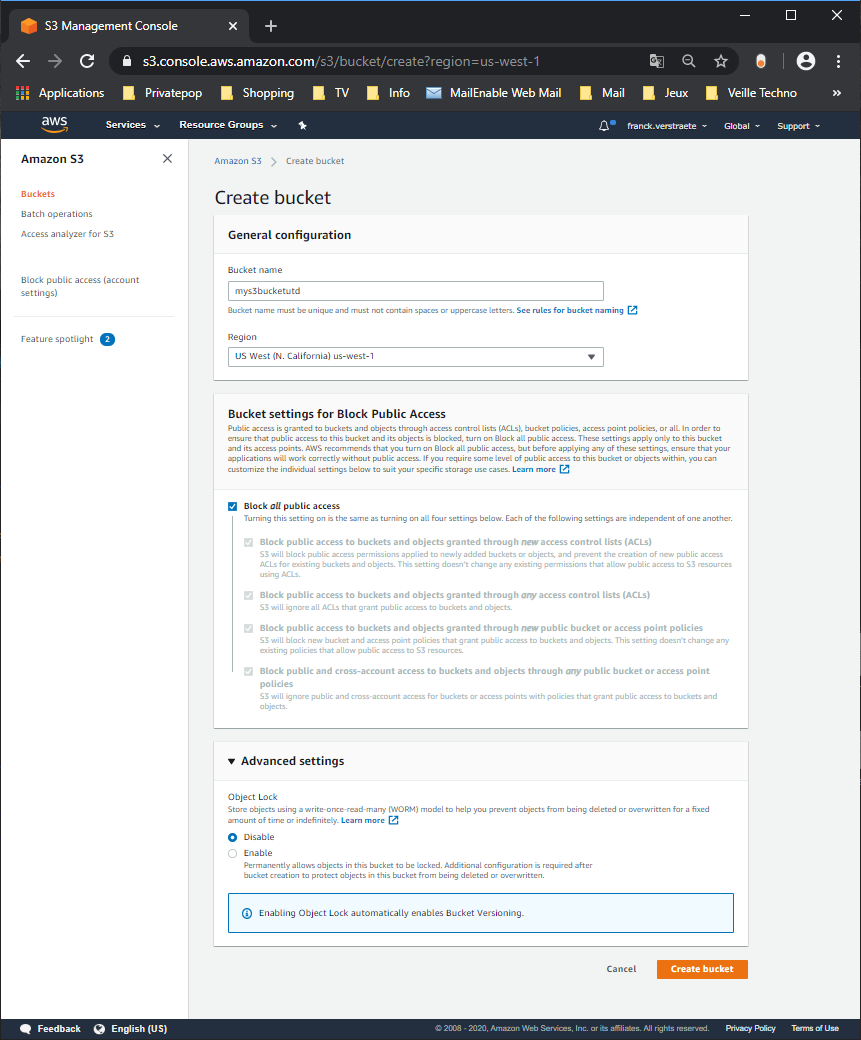
Create S3 Bucket for bootstrapping
Bootstrapping is a feature of the VM-Series firewall that allows you to load a pre- defined configuration into the firewall during boot-up and to automate its deployment. This ensures that the firewall is configured and ready at initial boot-up, removing the need for manual configuration.
To create a bootstrap bucket, Sign in to the AWS console https://www.amazon.com and click on S3:
Click Create Bucket:
# CHANGE SCREENSHOT

Enter a bucket name and select a region and click Create as there is no need to go through the subsequent steps as the default values will be used.
Note
Select the same region as your VPC. You will need to enter a globally unique bucket name. AWS will warn you if the name is not unique.
Build Bootstrapping in S3 Bucket
Add four folders called config, license, software and content by clicking on Create Folder:
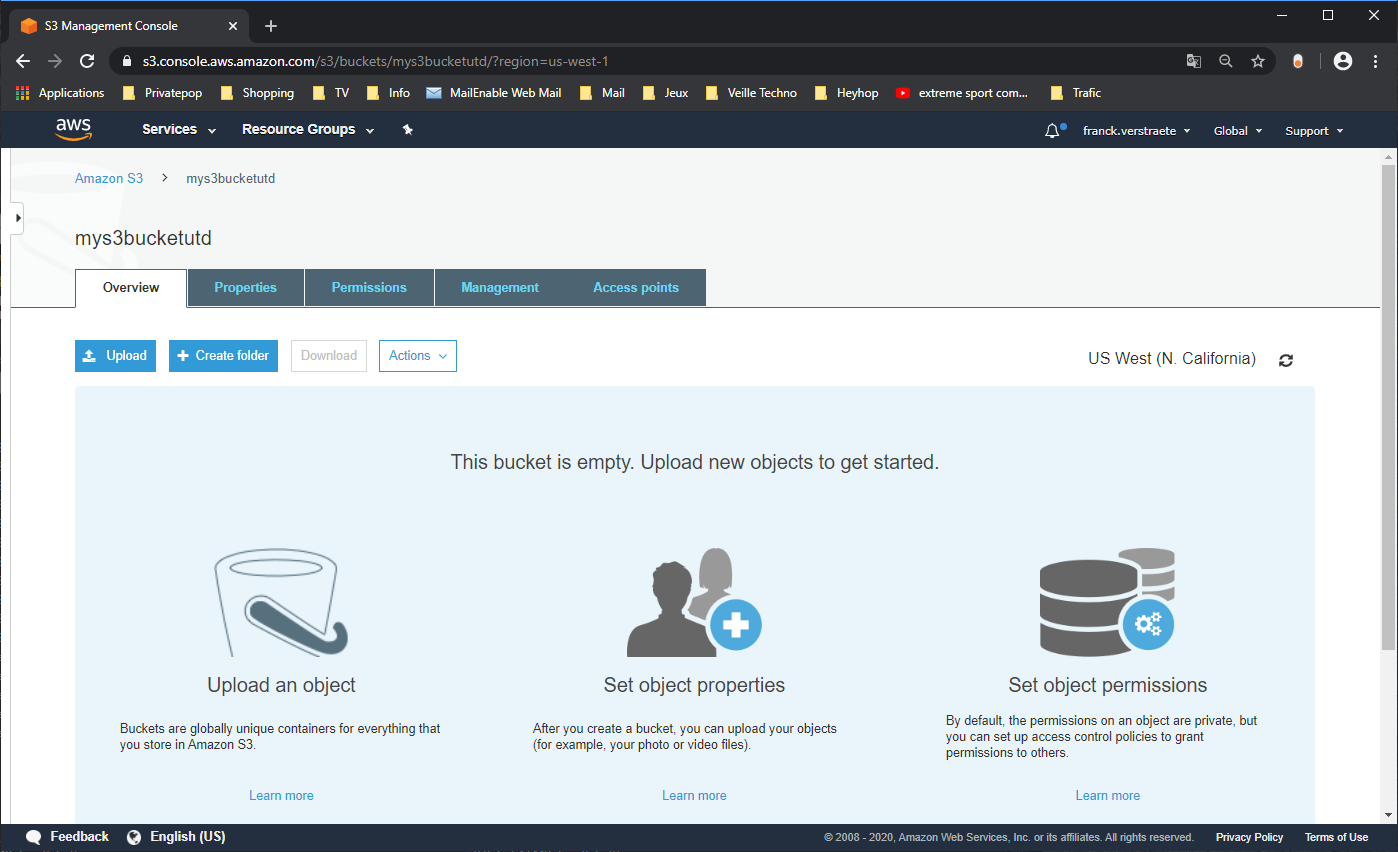
Fill in the folder name. Repeat the process for the three remaining folders.
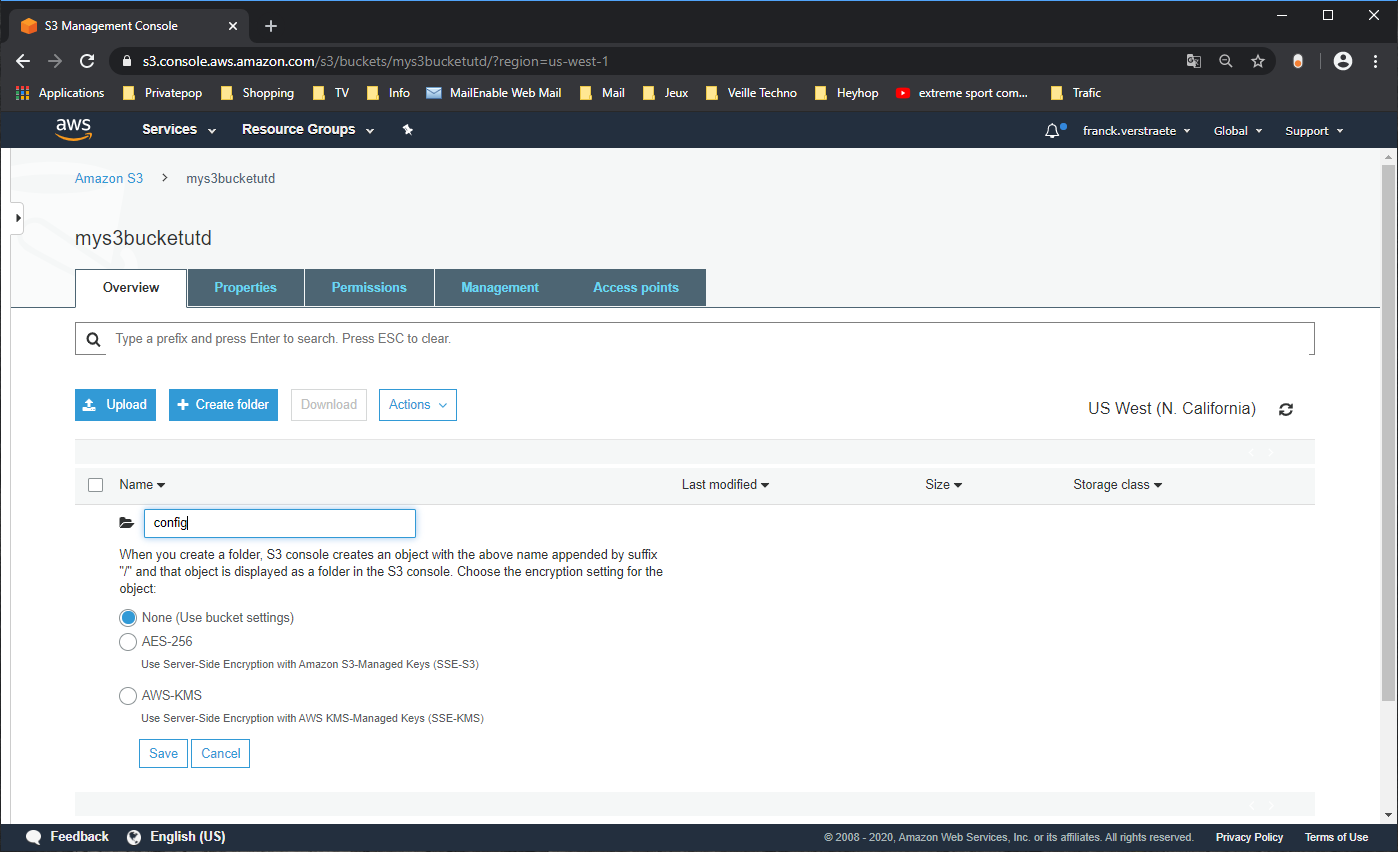
Click on Save

Upload your files in the bucket
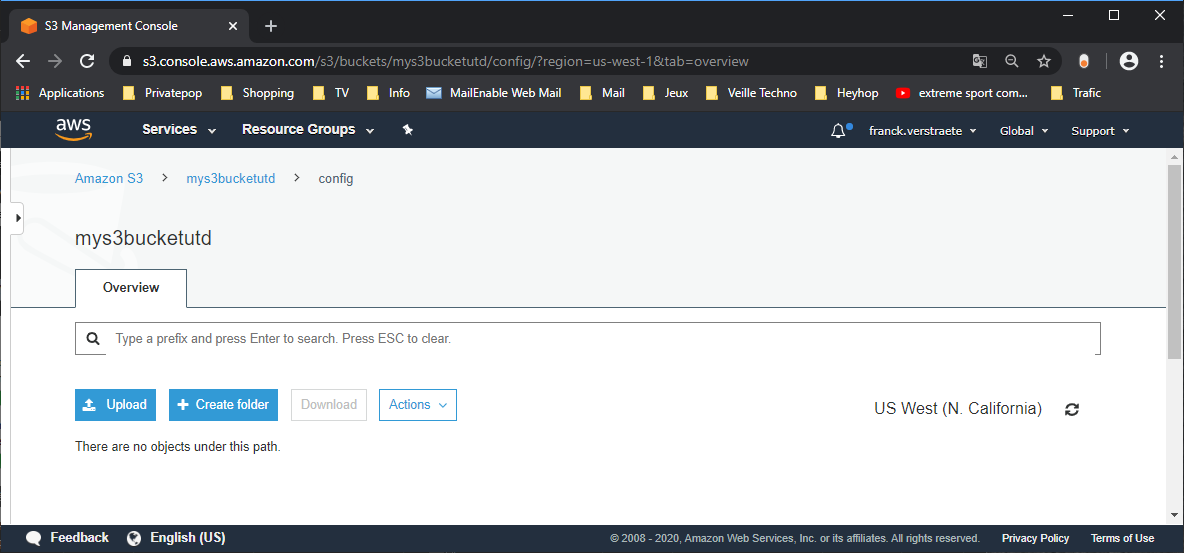
Click on config to enter the subfolder and upload the bootstrap.xml and init-cfg.txt files from bootstrap folder ~/utd-automation/pan-terraform/bootstrap-files/ to the config folder. Click on config.
Select Add Files and select the two files (bootstrap.xml and init-cft.txt) handled previously and click Upload:

The two files should be listed under the folder:

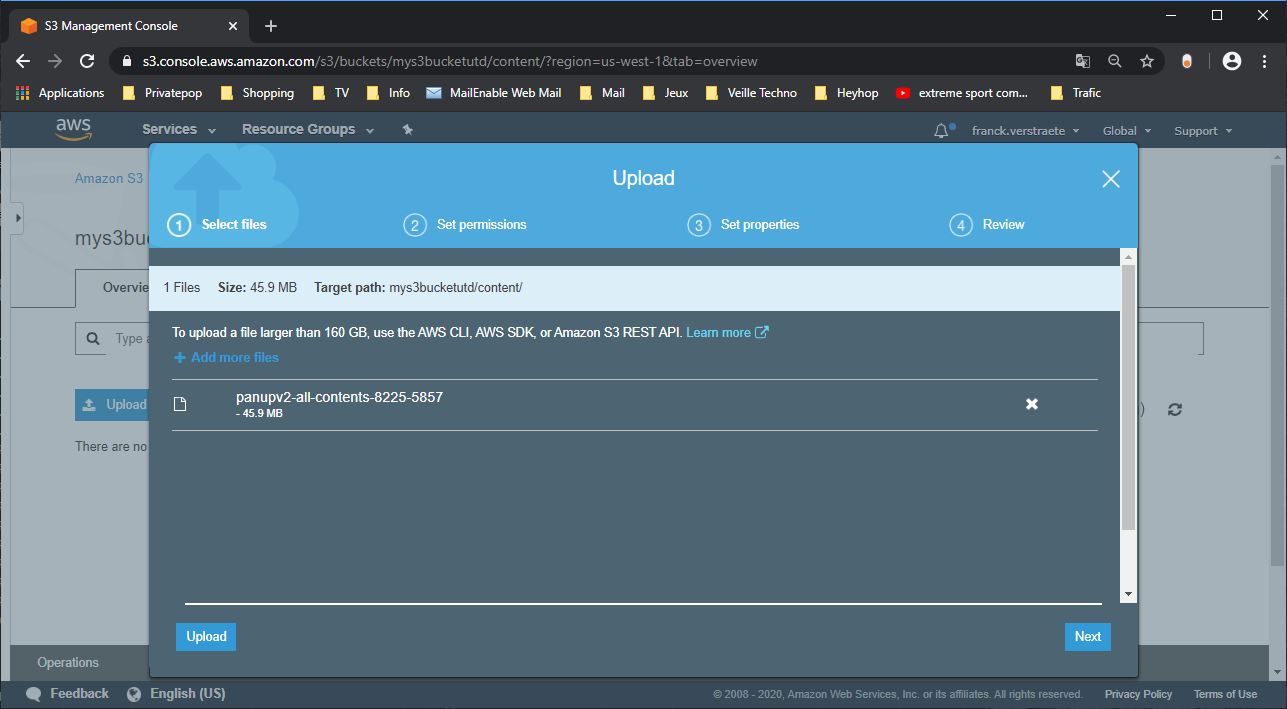
Upload the panupv2-all-contents-xxxx-xxxx file to the content folder. click on the content folder in the S3 console and click on Upload.
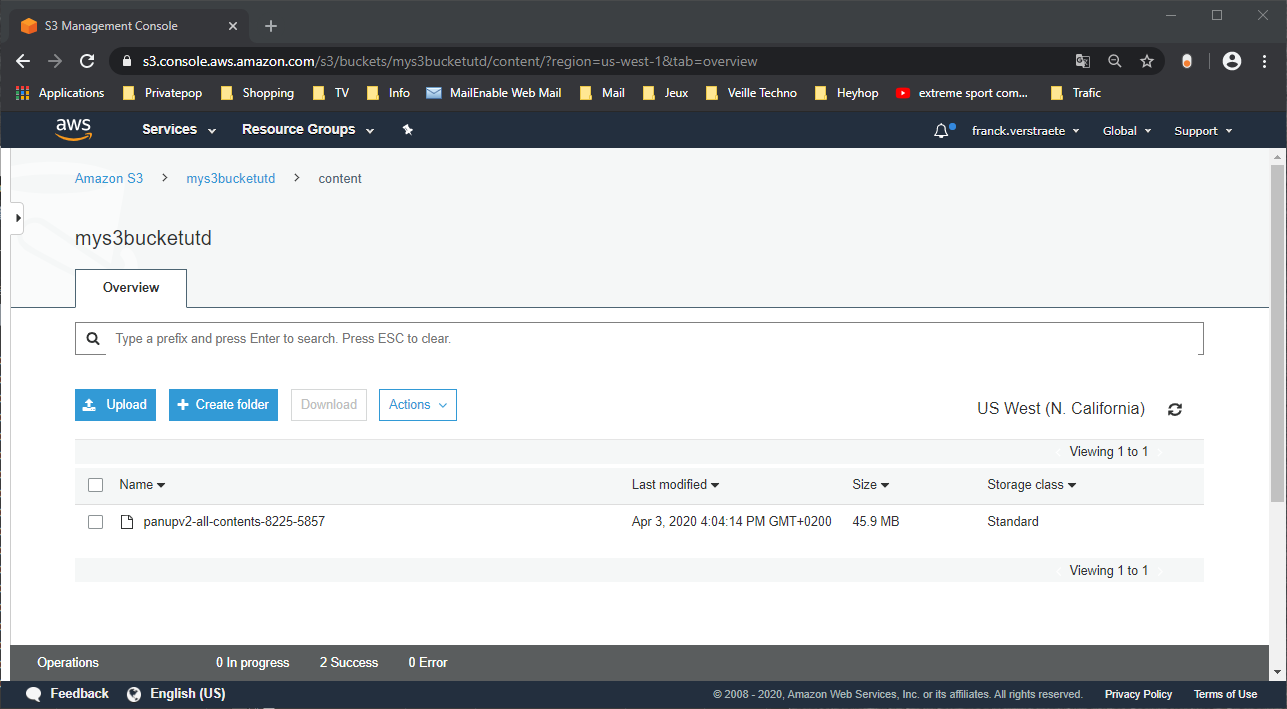
Once completed the file is listed under the folder content :
Upgrade (Optional)
If need upgrade automaticaly your VM after boot, you can Upload a PANOS image file to the software folder. click on the software folder ins the S3 console and click Upload. Select Add Files and select the file (example: PanOS_vm_9.0.1) retrieved from PANW support site, and click Upload:
Optional for Bootstrap:
If need associate licenses (BYOL) automaticaly your FW VM after boot, you can Upload a Licenses file to the license folder. click on the license folder ins the S3 console and click Upload. Select Add Files and select the file (example: 0001A100110-threats.key) downloaded previously and click Upload:
Add restricted permission on S3 Bucket (Read only)
We need to give the relevant rights for the IAM account created to use the API (IAM account for API access).
Create the policy:
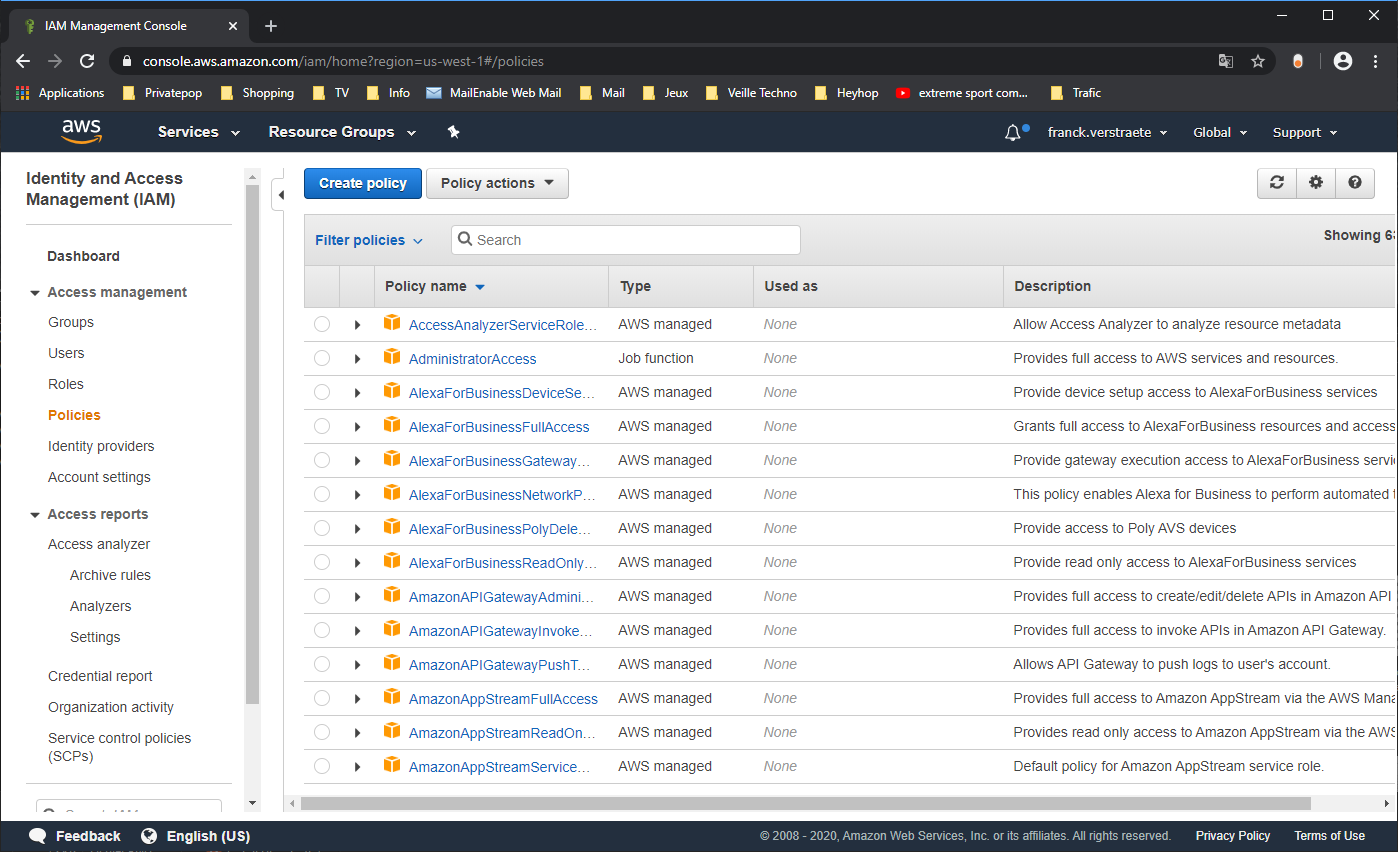
Go to Services > IAM and click on Customer Managed Policies:

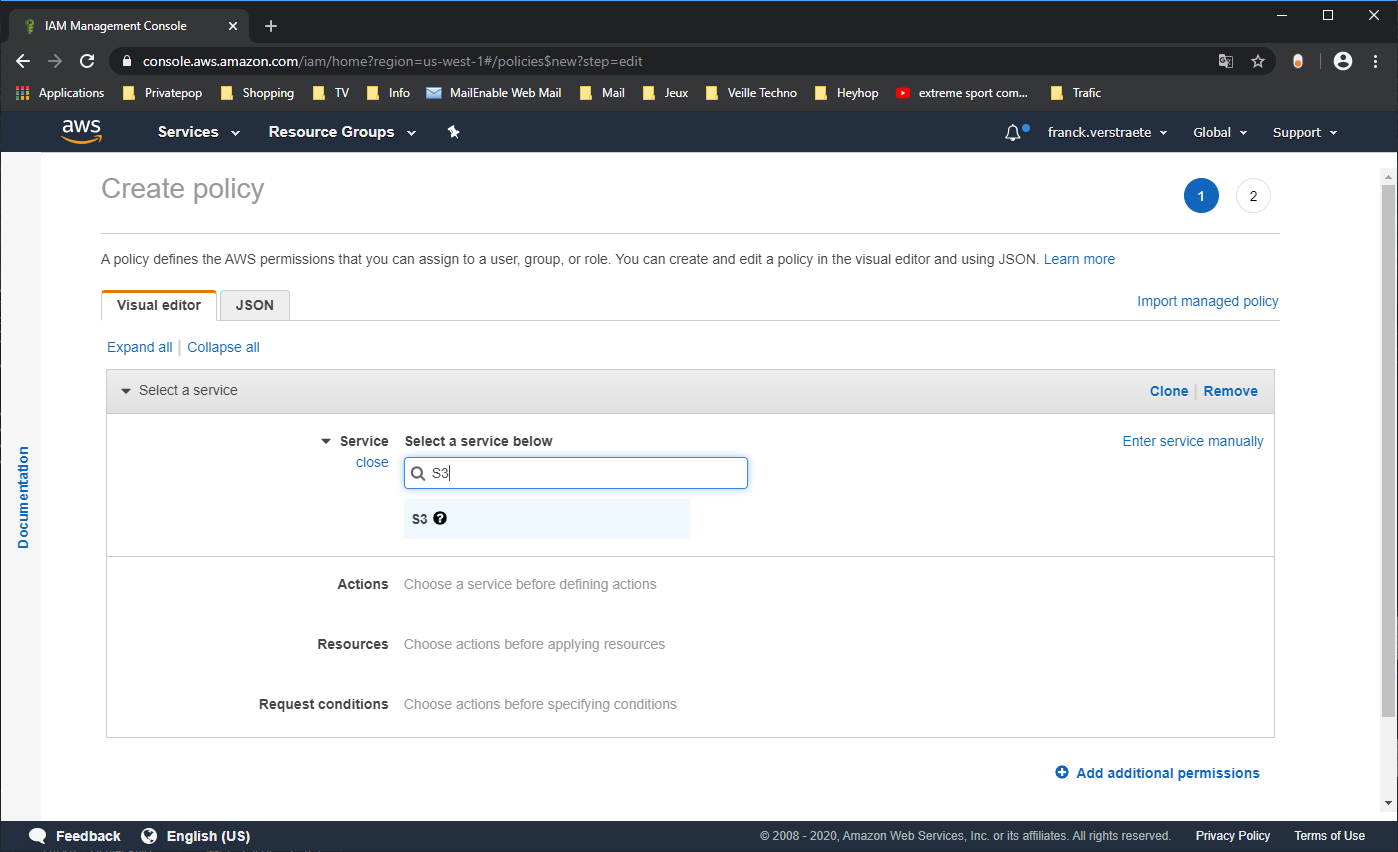
Clic Create policy:
Click on Choose a service, type S3 in the search bar choose the S3 service:
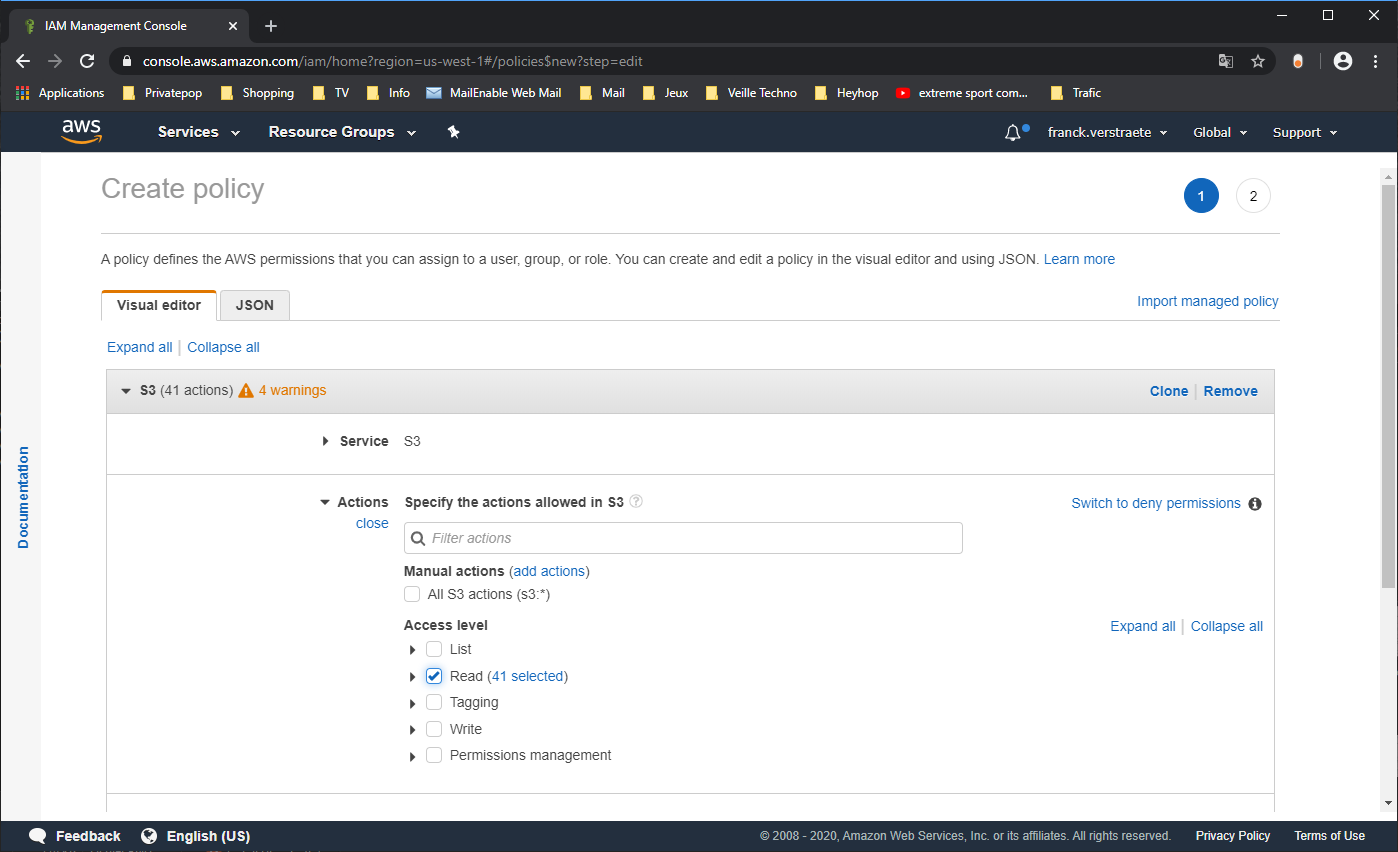
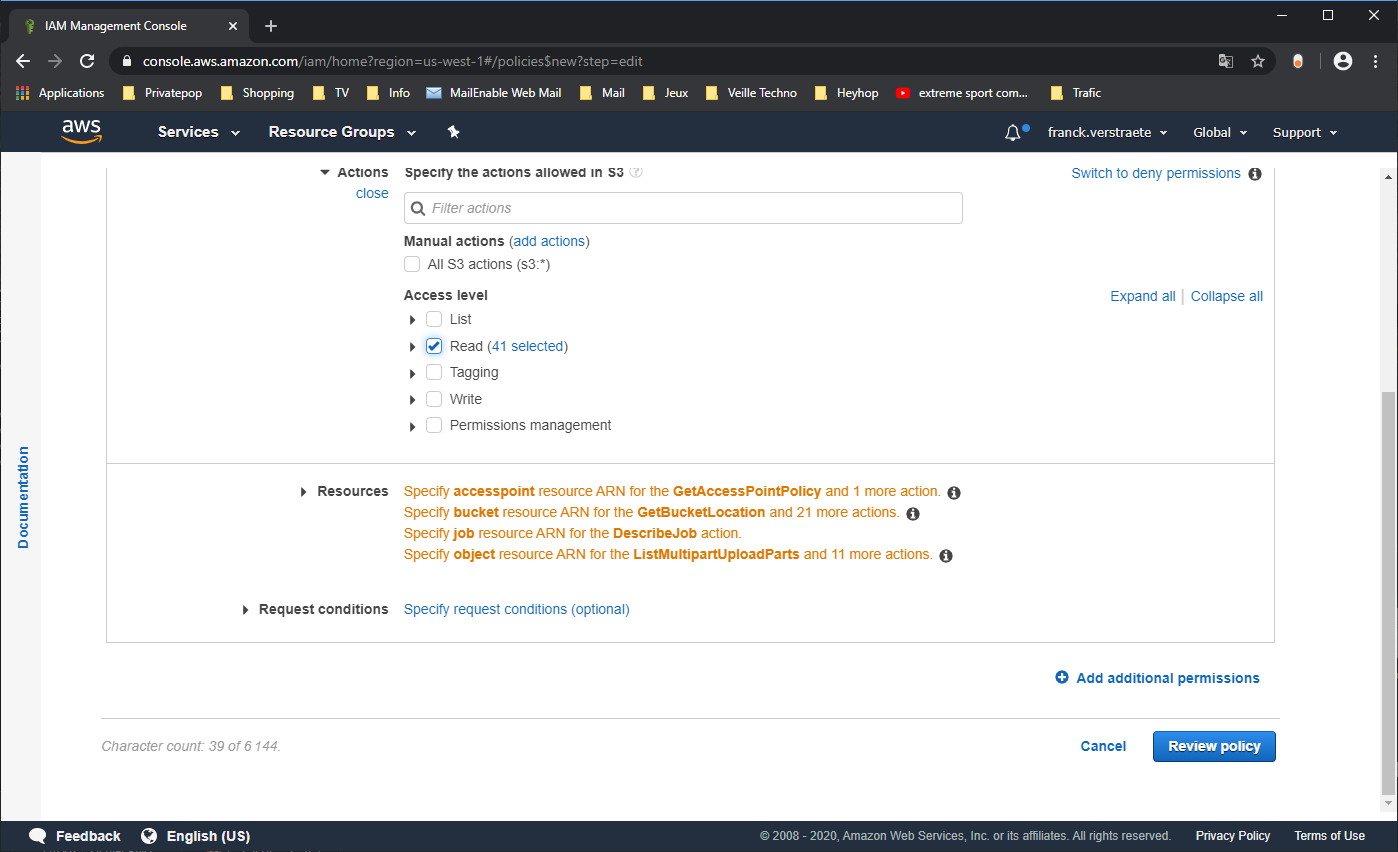
Choose Read for Access level, you can specify the GetBucketLocation… Access Level:
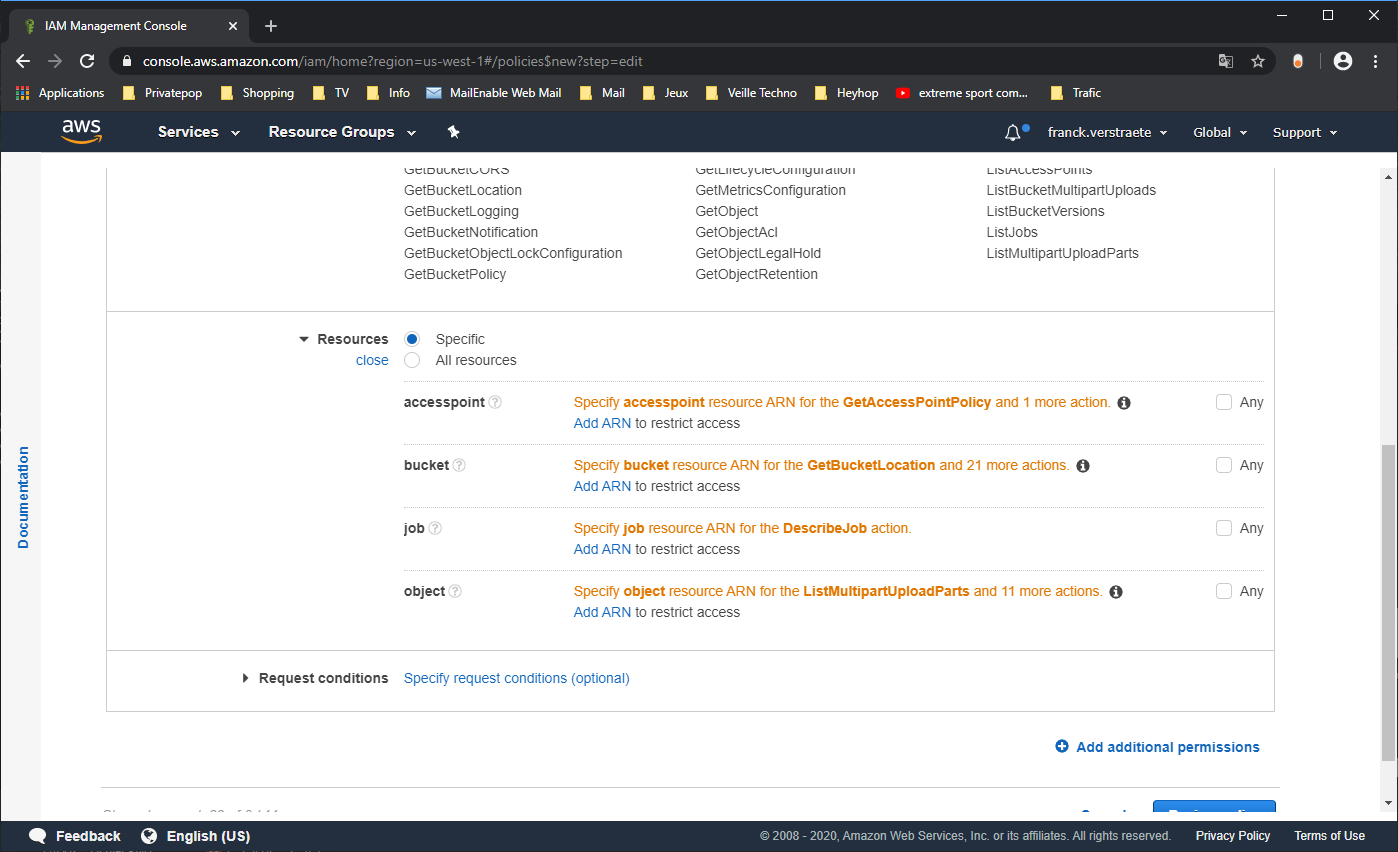
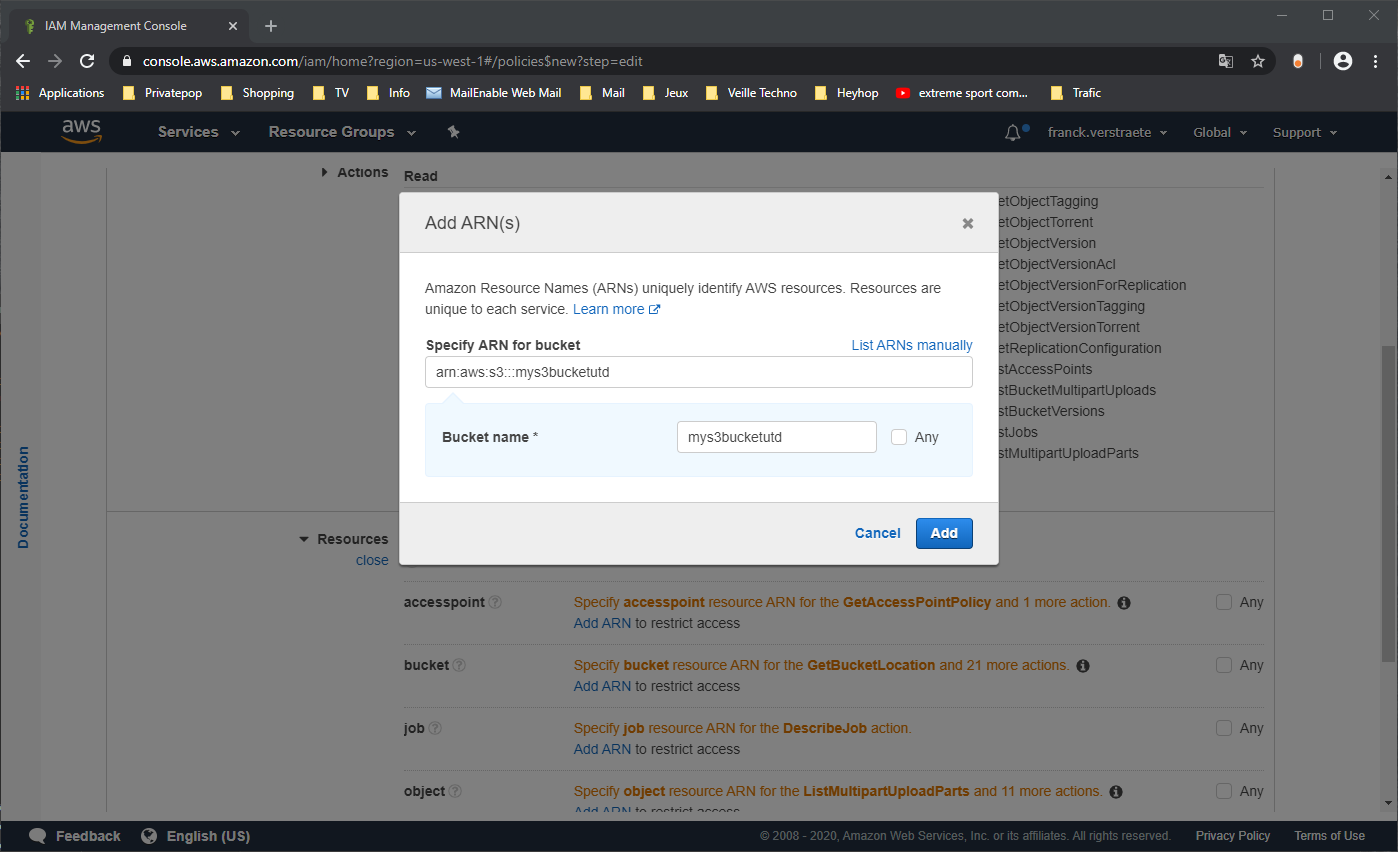
Then click on Ressources, and click on bucket and Add ARN to retrict access:
Add the ARN of the Bucket previously created, find it in your terminal window, it should look like arn:aws:s3:::BUCKETNAME
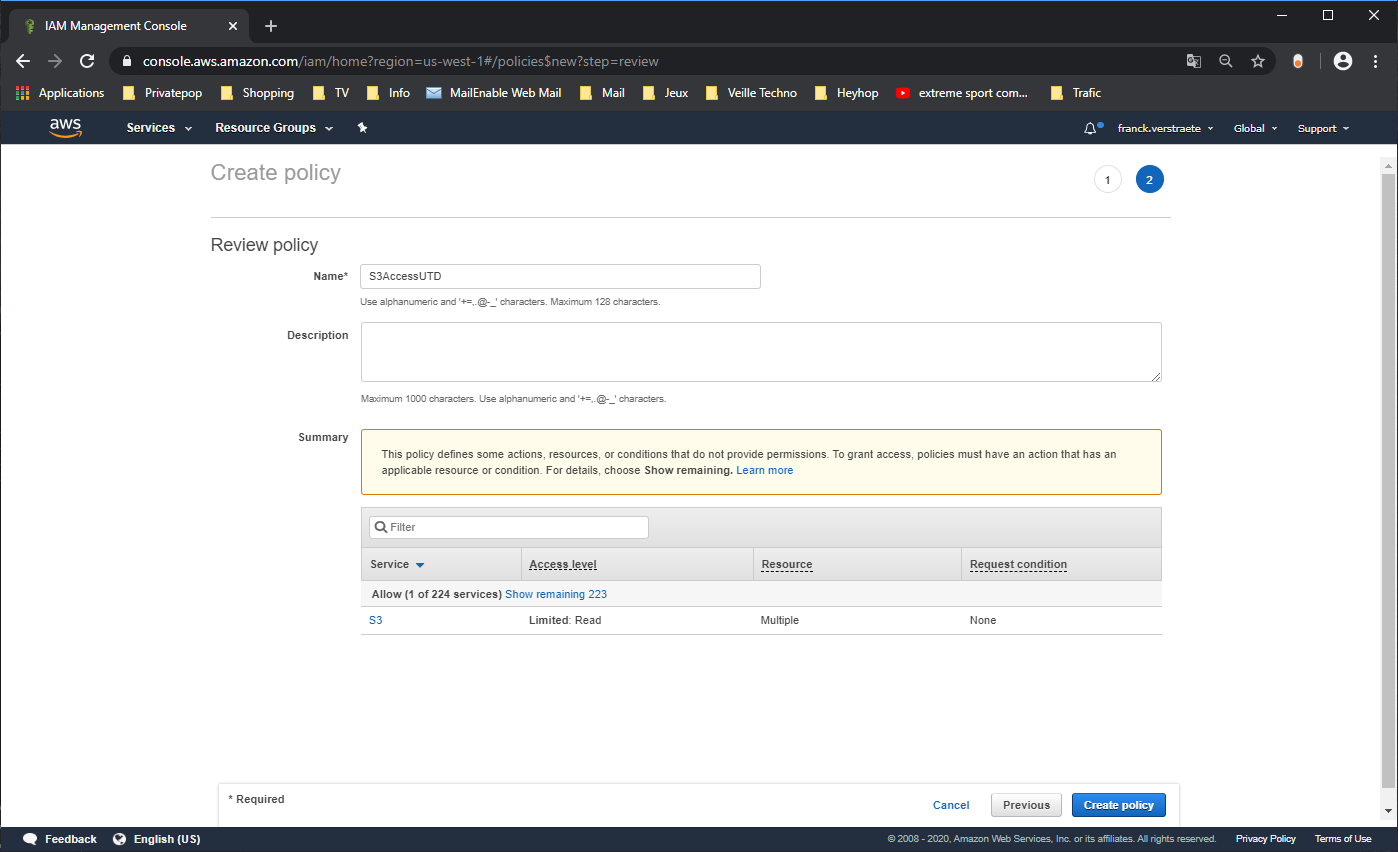
Click on Review Policy
Click Create policy, and give it a name: S3AccessUTD
Create a role to attach the policy to:
Go to Services > IAM and click on Roles:
Clic Create role.
When asked to choose a use case select EC2.
Click on Next permission.
Filter on the policy you previously created S3AccessUTD then click on Next: Tags and Next: Review, give the role a name: pa_bootstrap_s3_readonly
Click on Create role
Create the Terraform variables
Change into the AWS deployment directory.
cd ~/utd-automation/pan-terraform/
In this directory you will find the three main files associated with a
Terraform plan: deploy_panvm.tf, variables.tf, and deploy_vpc.tf. View the
contents of these files to see what they contain and how they’re structured.
code deploy_pavm.tf deploy_vpc.tf variables.tf
# or
subl deploy_pavm.tf deploy_vpc.tf variables.tf
deploy_pavm.tf - Terraform template for Palo Alto Networks VM-Series
firewall.
deploy_vpc.tf - Terraform template for create a VPC on AWS. The VPC will
create the management, trust, and untrust subnets for the VM-Series firewall.
An internet gateway needed for the internet connection and AWS endpoint
(currently disabled. need to uncomment the code to enable the feature) to
allow the firewall to access the S3 bucket via private IP address.
variables.tf - Variables you can set for the deployment
Modify/Adapt Configuration
- You need to modify the
variables.tffile with a Terminal or text editor.
To set the AWS access key and secret key of your IAM account for API access (see the doc here.):
# AWS Credential
variable "access_key" {
description = "AWS Access Key"
default = "XXXX"
}
variable "secret_key" {
description = "AWS Secret Key"
default = " XXXX "
}
- Modify variables.tf file with a Terminal or text editor with right information regarding Region and AZ if needed:(The template is also setup to deploy in US East Region)
# AWS Region and Availablility Zone
variable "region" {
default = "us-east-1"
}
variable "availability_zone" {
default = "us-east-1c"
}
- Modify variables.tf file with a Terminal or text editor with right information regarding SSH keypair:
variable "pavm_key_name" {
description = "Name of the SSH keypair to use in AWS."
default = "ec2sshkeypair"
}
variable "pavm_key_path" {
description = "Path to the private portion of the SSH key specified."
default = "~/utd-automation/pan-terraform/ec2sshkeypair.pem"
}
- (Optional) Modify variables.tf file with a Terminal or text editor with right information regarding the VPC CIDR and VPC Subnets if needed:
Modify CIDR block if needed:
# VPC configuration
variable "vpc_cidr_block" {
default = "10.88.0.0/16"
}
variable "vpc_instance_tenancy" {
default = "default"
}
Modify VPC Name if needed:
variable "vpc_name" {
default = "PAVM VPC"
}
Modify CIDR Block of subnets if needed :
# Management subnet configuration
variable "mgmt_subnet_cidr_block" {
default = "10.88.0.0/24"
}
# Untrust subnet configuration
variable "untrust_subnet_cidr_block" {
default = "10.88.1.0/24"
}
# Trust subnet configuration
variable "trust_subnet_cidr_block" {
default = "10.88.66.0/24"
}
- Adapt variables.tf file with a Terminal or text editor with right information regarding AMI reference if needed:
An Amazon Machine Image (AMI) provides the information required to launch an instance. You must specify an AMI when you launch an instance. You can launch multiple instances from a single AMI when you need multiple instances with the same configuration. You can use different AMIs to launch instances when you need instances with different configurations.
An AMI includes the following:
- One or more EBS snapshots, or, for instance-store-backed AMIs, a template for the root volume of the instance (for example, an operating system, an application server, and applications).
- Launch permissions that control which AWS accounts can use the AMI to launch instances.
- A block device mapping that specifies the volumes to attach to the instance when it’s launched.
To find a Palo Alto Networks AMI using the Images page
Open the Amazon EC2 console at https://console.aws.amazon.com/ec2/
From the navigation bar, select the Region in which to launch your instances. You can select any Region that’s available to you, regardless of your location.
In the navigation pane on left, choose AMIs.
Use the Filter options to scope the list of displayed AMIs to see only the AMIs that interest you.
For example, to list all Palo Alto Networks AMIs provided by AWS, select Public images. Type palo alto networks in filter fiels to view list of AMI available in choosen Region.
Then verify or adapt AMI ID if needed :
# PAVM configuration
variable "pavm_payg_bun2_ami_id" {
default = {
eu-west-1 = "ami-5d92132e",
ap-southeast-1 = "ami-946da7f7",
ap-southeast-2 = "ami-d7c6e5b4",
ap-northeast-2 = "ami-fb08c195",
eu-central-1 = "ami-8be001e4",
ap-northeast-1 = "ami-b84b5ad6",}
}
us-east-1 = "ami-29a8a243",
us-west-1 = "ami-12d0ad72",
sa-east-1 = "ami-19810e75",
us-west-2 = "ami-e4be4b84"
variable "pavm_byol_ami_id" {
default = {
ap-south-1 = "ami-5c187233",
eu-west-1 = "ami-73971600",
ap-southeast-1 = "ami-0c60aa6f",
ap-southeast-2 = "ami-f9c4e79a",
ap-northeast-2 = "ami-fa08c194",
eu-central-1 = "ami-74e5041b",
ap-northeast-1 = "ami-e44b5a8a",
us-east-1 = "ami-1daaa077",
us-west-1 = "ami-acd7aacc",
sa-east-1 = "ami-1d860971",
us-west-2 = "ami-e7be4b87"
}
}
- Adapt variables.tf file with a Terminal or text editor with right information regarding Bucket S3 for Bootstraping where XXXX is the name of your bucket S3.
variable "pavm_user_data" {
#default = "vmseries-bootstrap-aws-s3bucket=panw-mlue-bucket"
default = "vmseries-bootstrap-aws-s3bucket=XXXX"
}
variable "pavm_iam_instance_profile" {
default = "pa_bootstrap_s3_readonly"
}
- You need to modify the deploy_pavm.tf file with a Terminal or text editor.
For both AWS, the licensing options are bring your own license (BYOL) and pay as you go/consumption-based (PAYG) subscriptions.
- BYOL: Any one of the VM-Series models, along with the associated Subscriptions and Support, are purchased via normal Palo Alto Networks channels and then deployed through your AWS or Azure management console.
- PAYG: Purchase the VM-Series and select Subscriptions and Premium Support as an hourly subscription bundle from the AWS Marketplace.
- Bundle 1 contents: VM-300 firewall license, Threat Prevention Subscription (inclusive of IPS, AV, Malware prevention) and Premium Support.
- Bundle 2 contents: VM-300 firewall license, Threat Prevention (inclusive of IPS, AV, Malware prevention), WildFire™ threat intelligence service, URL Filtering, GlobalProtect Subscriptions and Premium Support.
In deploy_pavm.tf you can adapt the AMI information regarding your licensing type (BYOL or Bundle2):
# Palo Alto VM-Series Firewall
resource "aws_instance" "pavm" {
#ami = "${lookup(var.pavm_byol_ami_id, var.region)}"
ami = "${lookup(var.pavm_payg_bun2_ami_id, var.region)}"
availability_zone = "${var.availability_zone}"
tenancy = "default"
ebs_optimized = false
disable_api_termination = false
instance_initiated_shutdown_behavior = "stop"
instance_type = "${var.pavm_instance_type}"
key_name = "${var.pavm_key_name}"
monitoring = false
vpc_security_group_ids = [ "${aws_security_group.default-security-gp.id}" ]
subnet_id = "${aws_subnet.mgmt-subnet.id}"
associate_public_ip_address = "${var.pavm_public_ip}"
private_ip = "${var.pavm_mgmt_private_ip}"
source_dest_check = false
tags = {
Name = "PAVM"
}
- (Optional) You need to modify the deploy_vpc.tf file with a Terminal or text editor if you want to use a VPC Endpoint.
A VPC endpoint enables you to privately connect your VPC to supported AWS services and VPC endpoint services powered by AWS PrivateLink without requiring an internet gateway, NAT device, VPN connection, or AWS Direct Connect connection. Instances in your VPC do not require public IP addresses to communicate with resources in the service. Traffic between your VPC and the other service does not leave the Amazon network.
Endpoints are virtual devices. They are horizontally scaled, redundant, and highly available VPC components. They allow communication between instances in your VPC and services without imposing availability risks or bandwidth constraints on your network traffic.
In deploy_vpc.tf you have to uncomment code to use Bootstrap S3 Bucket and give the S3 name bucket:
# Create an endpoint for S3 bucket
/* Uncomment to enable */
resource "aws_vpc_endpoint" "private-s3" {
vpc_id = "${aws_vpc.pavm-vpc.id}"
service_name = "com.amazonaws.us-west-2.s3"
/* Uncomment to enable policy
policy = <<POLICY
{
"Statement": [{
"Effect": "Deny",
"Principal": "*",
"Action": "s3:*",
"Resource": "arn:aws:s3:::mys3bucketutd"
}
]
}
POLICY
*/
Note
The ARN value has been copied in this file at the beginning of the activity.
Change the volume_size to 65
root_block_device = {
    volume_type = "gp2"
    volume_size = "65"
    delete_on_termination = true
}
Warning
Save your file using CTRL+S
Initialize the AWS Terraform provider
For this initial deployment we will only be using the AWS Provider. This initialization process will download all the software, modules, and plugins needed for working in a particular environment:
terraform init
Deploy the lab infrastucture plan
We are now ready to deploy our lab infrastructure plan. We should first perform a dry-run of the deployment process and validate the contents of the plan files and module dependencies.
terraform plan
If there are no errors and the plan output looks good, let’s go ahead and perform the deployment.
terraform apply -auto-approve
At a high level these are each of the steps this plan will perform:
- Create the VPC
- Create the Internet gateway
- Create VPC NAT Gateway
- Create the subnets
- Create the security groups for each subnet
- Create routing tables and routes
- Create the VM-Series firewall instance
- Create the VM-Series firewall interfaces
- Create the Elastic IPs for the
managementanduntrustinterfaces
The deployment process should finish in a few minutes and you will be presented with the public IP addresses of the VM-Series firewall management and untrust interfaces. However, the VM-Series firewall can take up to ten minutes to complete the initial bootstrap process.
It is recommended that you skip ahead and read the documentation section while you wait.
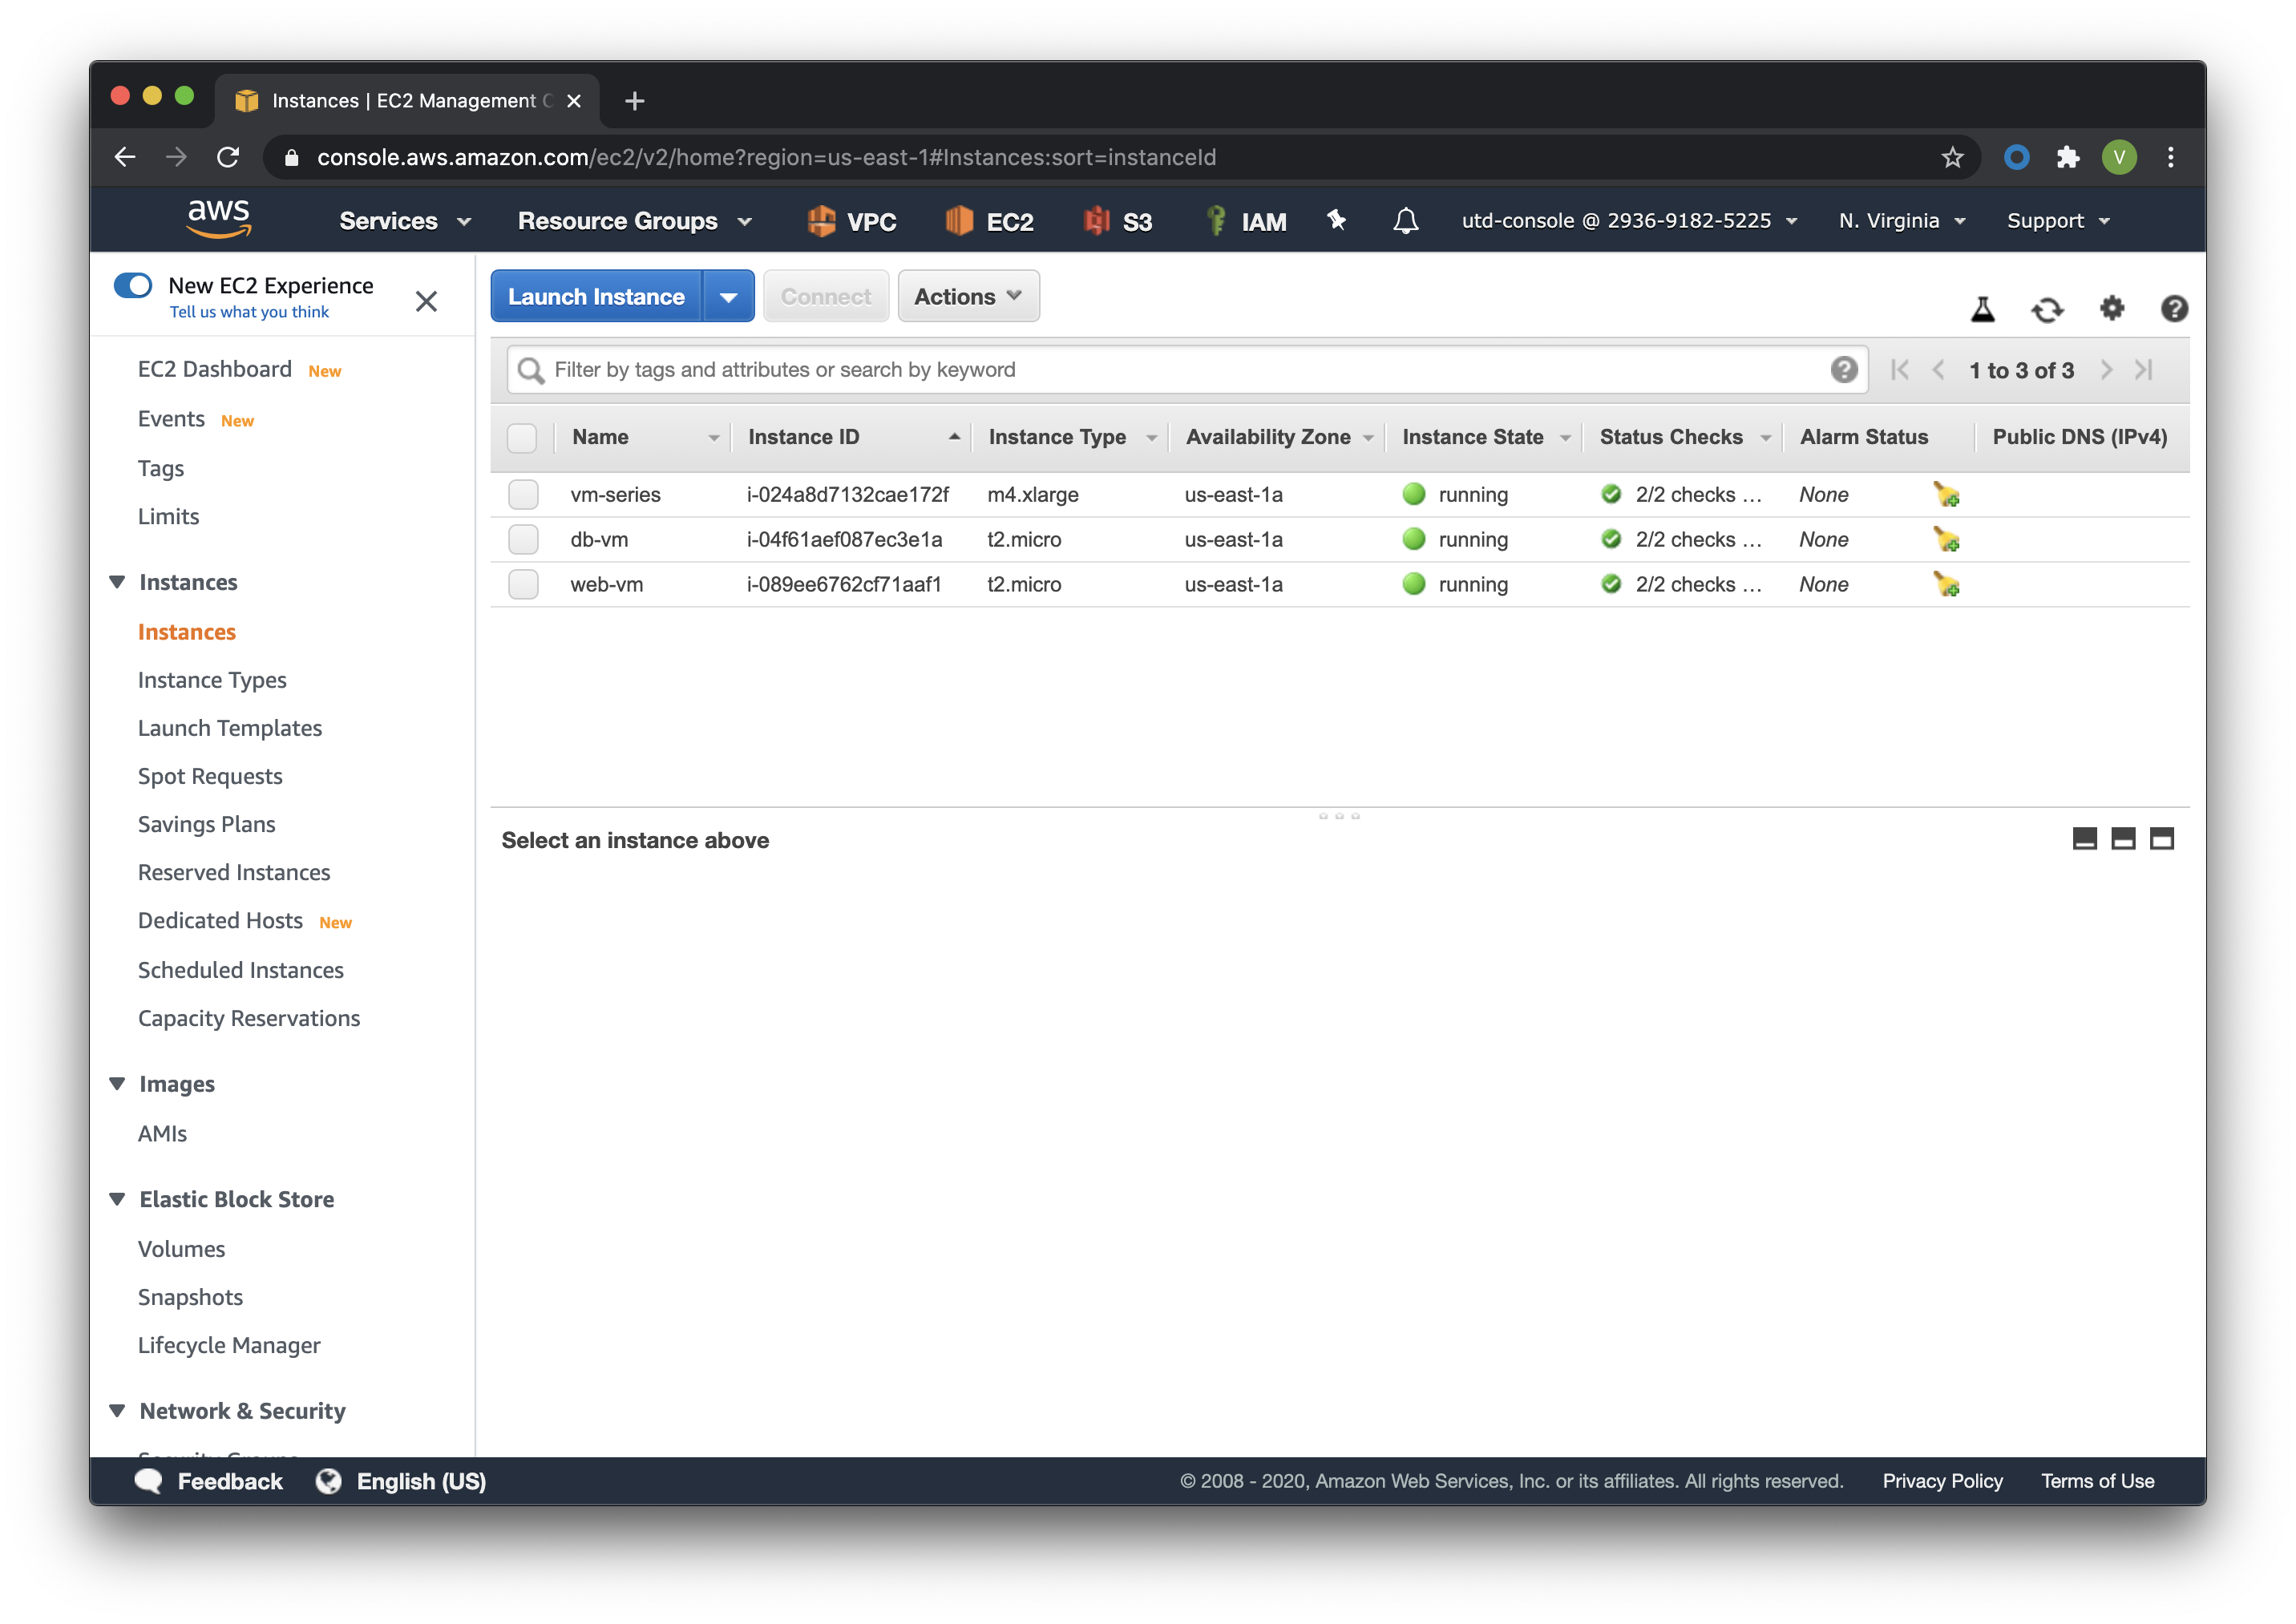
Verify on AWS Console some elements created by terraform
On the console check that your instances have been provisionned:
Confirm firewall bootstrap completion
SSH into the firewall with the following credentials.
- Username:
admin - Password:
admin
ssh admin@
Replace <FIREWALL_MGMT_IP> with the IP address of the firewall management
interface that was provided in the Terraform plan results. This information
can be easily recalled using the terraform output command within the
deployment directory.
Warning
If you are unsuccessful the firewall instance is likely still
bootstrapping or performing an autocommit. Hit Ctrl-C and try again
after waiting a few minutes. The bootstrap process can take up to ten
minutes to complete before you are able to successfully log in.
Once you have logged into the firewall you can check to ensure the management plane has completed its initialization.
show chassis-ready
If the response is yes, you are ready to proceed with the configuration activities.
Note
While it is a security best practice to use SSH keys to authenticate to VM instances in the cloud, we have defined a static password for the firewall’s admin account in this lab (specifically, in the bootstrap package). This is because the PAN-OS XML API cannot utilize SSH keys and requires a username/password or API key for authentication.
Destroy the lab infrastucture plan
To clean up the deployment, just run the following command
terraform destroy
It will automatically delete every object that was created by the template.
What were bad things on this Activity
- AWS Access key and AWS Secret key are visible and stored in vraiable.tf file.
- It needs to prepare a S3 bucket from AWS Console before use this scripts Terraform.
- Methode for Bootstraping expose password administrator of the FW in S3 bucket with potentiel high risk.
- Structure of scripts is not relevant for large deployment architecture.
Conclusion
We can do better then let’s go to next activity : The Automation Journey